Best Strategies & Tactics Guide
STAR WARS Zero Company blends XCOM-style turn-based tactics with Clone Wars storytelling, and its layered combat systems reward thoughtful planning over brute force. This guide covers the core strategies and tactical principles that will keep your operators alive across every difficulty setting, from Story all the way to Expert with Beskar Mode.
Mastering Action Points and Turn Economy
Every operator receives 3 Action Points (AP) per turn, and how you spend them defines the difference between a clean operation and a squad wipe. Movement cost scales with distance, so short repositions into better cover or flanking angles are far more efficient than long sprints across the battlefield. Before committing AP to an attack, always check the Shot Breakdown panel to evaluate your actual Chance-to-Hit — gambling on a low-percentage shot when you could have repositioned first is one of the most common mistakes new players make.
The free action Call for Backup is easy to overlook but should be used every single turn. Once per turn, a random operator can tag a teammate to assist with their next attack, adding extra firepower at zero AP cost. Coordinate this with your highest-value shot of the turn to maximize its impact. Similarly, plan your turn order carefully: operators who need to set up Overwatch should act last, since Overwatch ends their turn immediately and works best as a final action after all repositioning is complete.
Overwatch itself is a powerful area-denial tool. You place an adjustable cone that triggers a shot against any enemy that moves through or acts inside it during the enemy turn. Investing more AP widens the cone's coverage but reduces its accuracy, so weigh whether you need broad coverage against multiple enemies or a tight, accurate watch on a single chokepoint. On missions with predictable enemy patrol routes, a well-placed Overwatch cone can eliminate threats before they ever reach your squad.
The Advantage System: When to Save, When to Spend
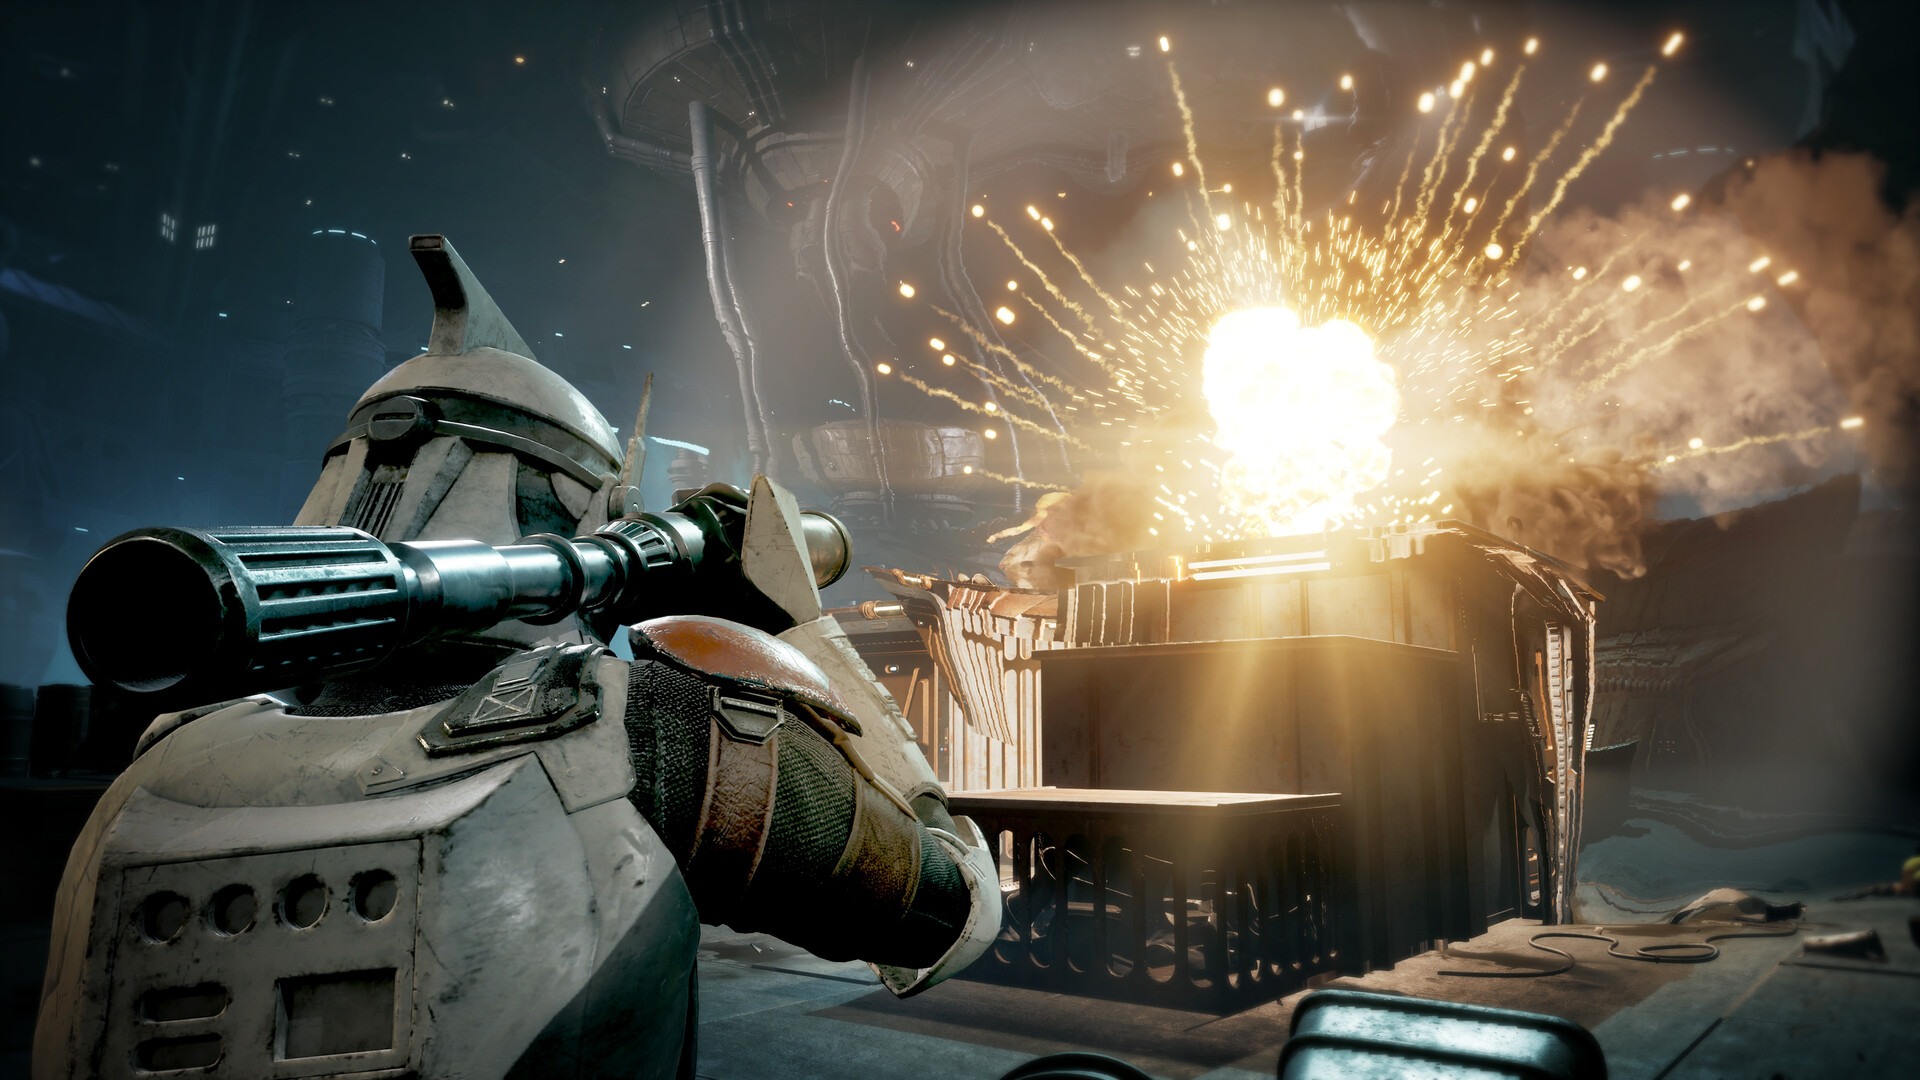
Every successful hit your squad lands builds the shared Advantage pool, which caps at 10 points. Advantage abilities are uniquely powerful because they cost zero AP, effectively giving your operators extra actions on top of their normal turn. These abilities range from granting a bonus AP to an ally mid-turn, to calling in a Rocket Strike, temporarily boosting Chance-to-Hit across the entire squad, or forcing enemies to focus fire on a single tanky operator.
The critical mistake most players make is spending Advantage the moment it accumulates. Many missions feature reinforcement waves or multi-phase encounters, and entering a second phase with an empty Advantage pool leaves you dangerously exposed. Hold at least a few points in reserve for emergencies — a well-timed Advantage ability can salvage a turn that has gone sideways. Pay special attention to the Scout's Ambush Ultimate, which consumes the entire Advantage pool (minimum 4 points) and converts each point into additional damage, making it one of the most devastating single attacks in the game when fully charged.
Build Advantage intentionally by focusing on high-percentage shots early in a turn rather than risky long-range attempts. Each class Ultimate draws from this shared pool, so coordinate with your squad composition. A Heavy using Bulwark to taunt and gain defense, followed by a Sharpshooter's Precision Shot — which always hits — creates a reliable one-two punch that both protects the squad and guarantees Advantage generation for the next turn.
Cover, Elevation, and Battlefield Positioning
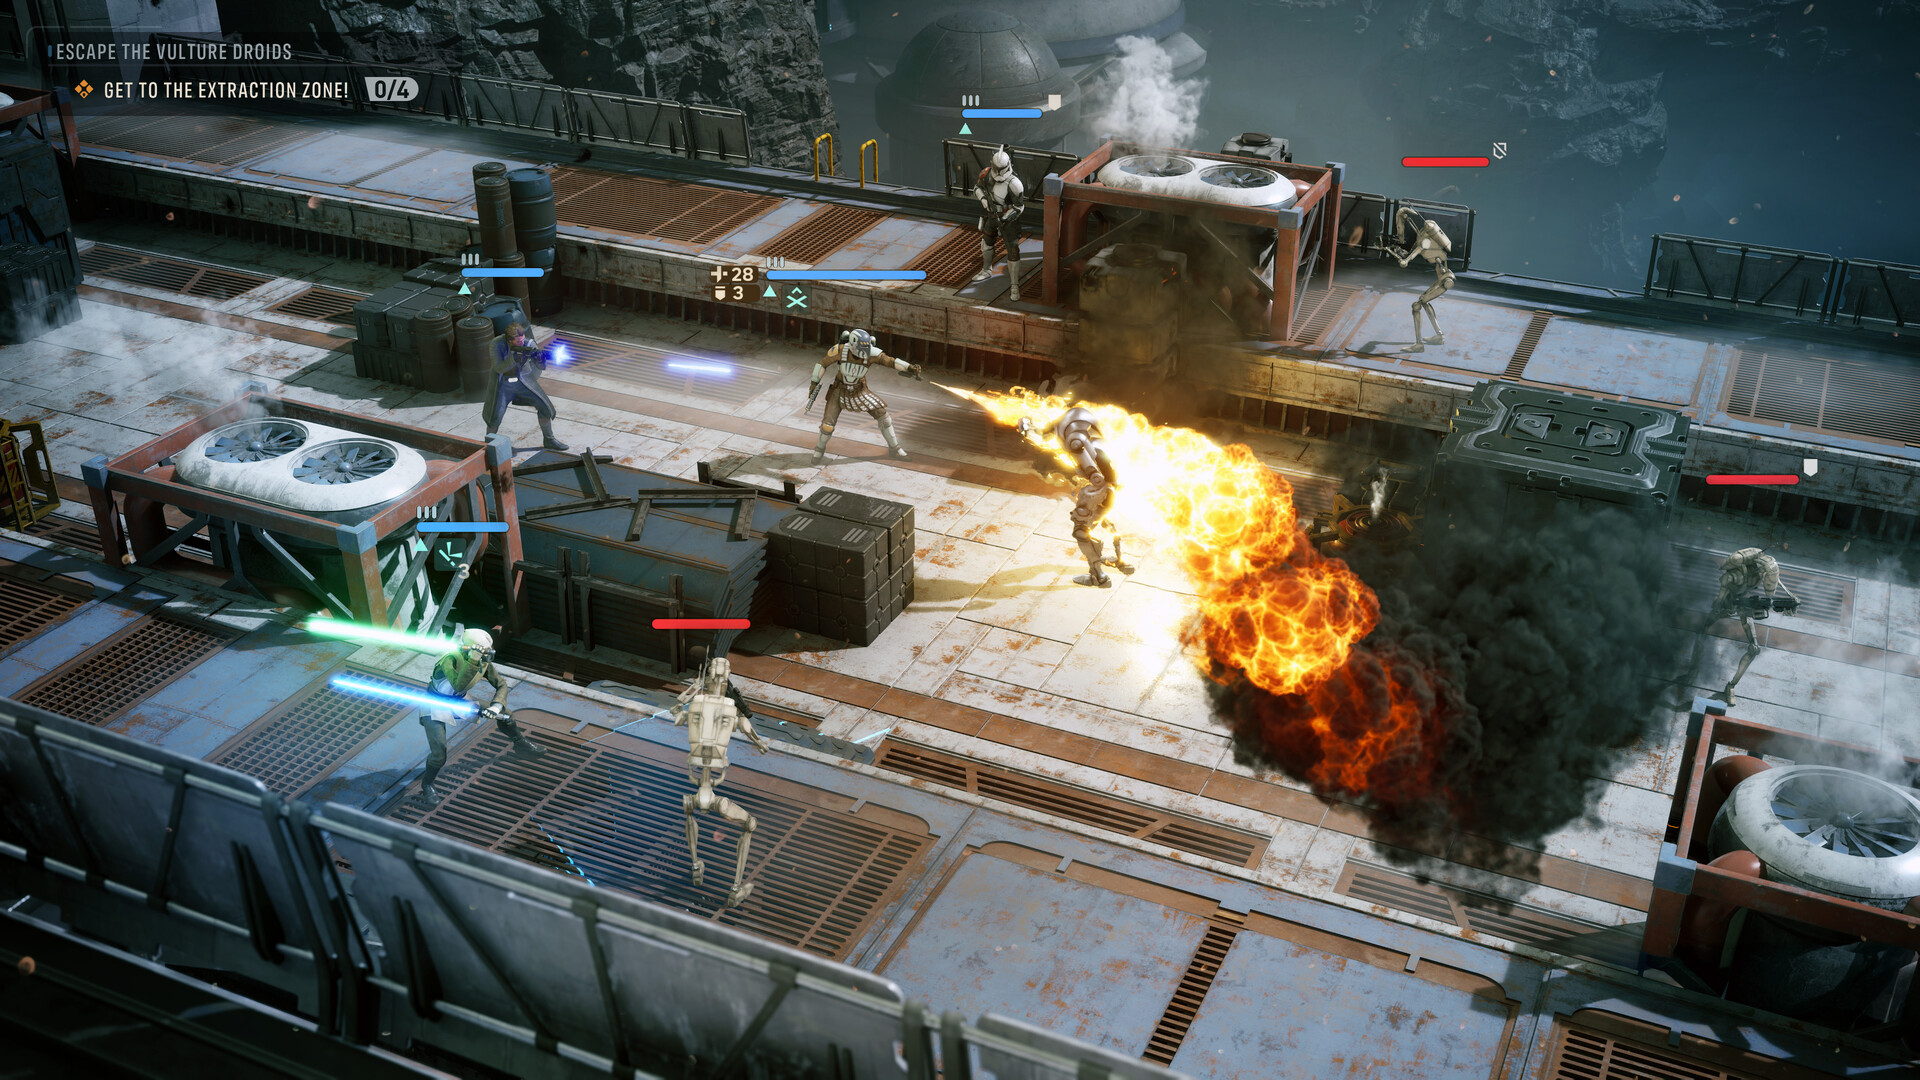
Cover is the backbone of survival in Zero Company, but it is not permanent. Partial cover reduces incoming hit chance, and full cover reduces it further, but all cover in the game is destructible. Sitting behind the same wall for multiple turns invites the enemy to blow it apart with sustained fire or explosives, leaving your operator completely exposed. Treat every cover position as temporary and plan your fallback route before you need it.
Flanking an enemy or attacking from higher elevation significantly increases your Chance-to-Hit, and these bonuses stack. Before taking a shot from a poor angle, consider whether spending 1 AP to reposition could turn a coin-flip into a near-guarantee. Higher ground is especially valuable because it often provides both an accuracy bonus and better sightlines across the map. The game rewards aggressive repositioning — moving a Scout or Assault operator to a flanking position often yields better results than having them fire twice from a mediocre angle.
Destructible terrain cuts both ways. If enemies are clustered behind a shared piece of cover, the Soldier's Rocket Strike or a well-placed Concussion Grenade can destroy it and leave multiple targets exposed for the rest of your squad. Conversely, avoid grouping your own operators behind a single piece of cover, since enemy AoE attacks can damage both the cover and everyone behind it simultaneously.
Squad Composition and Dual-Class Synergies
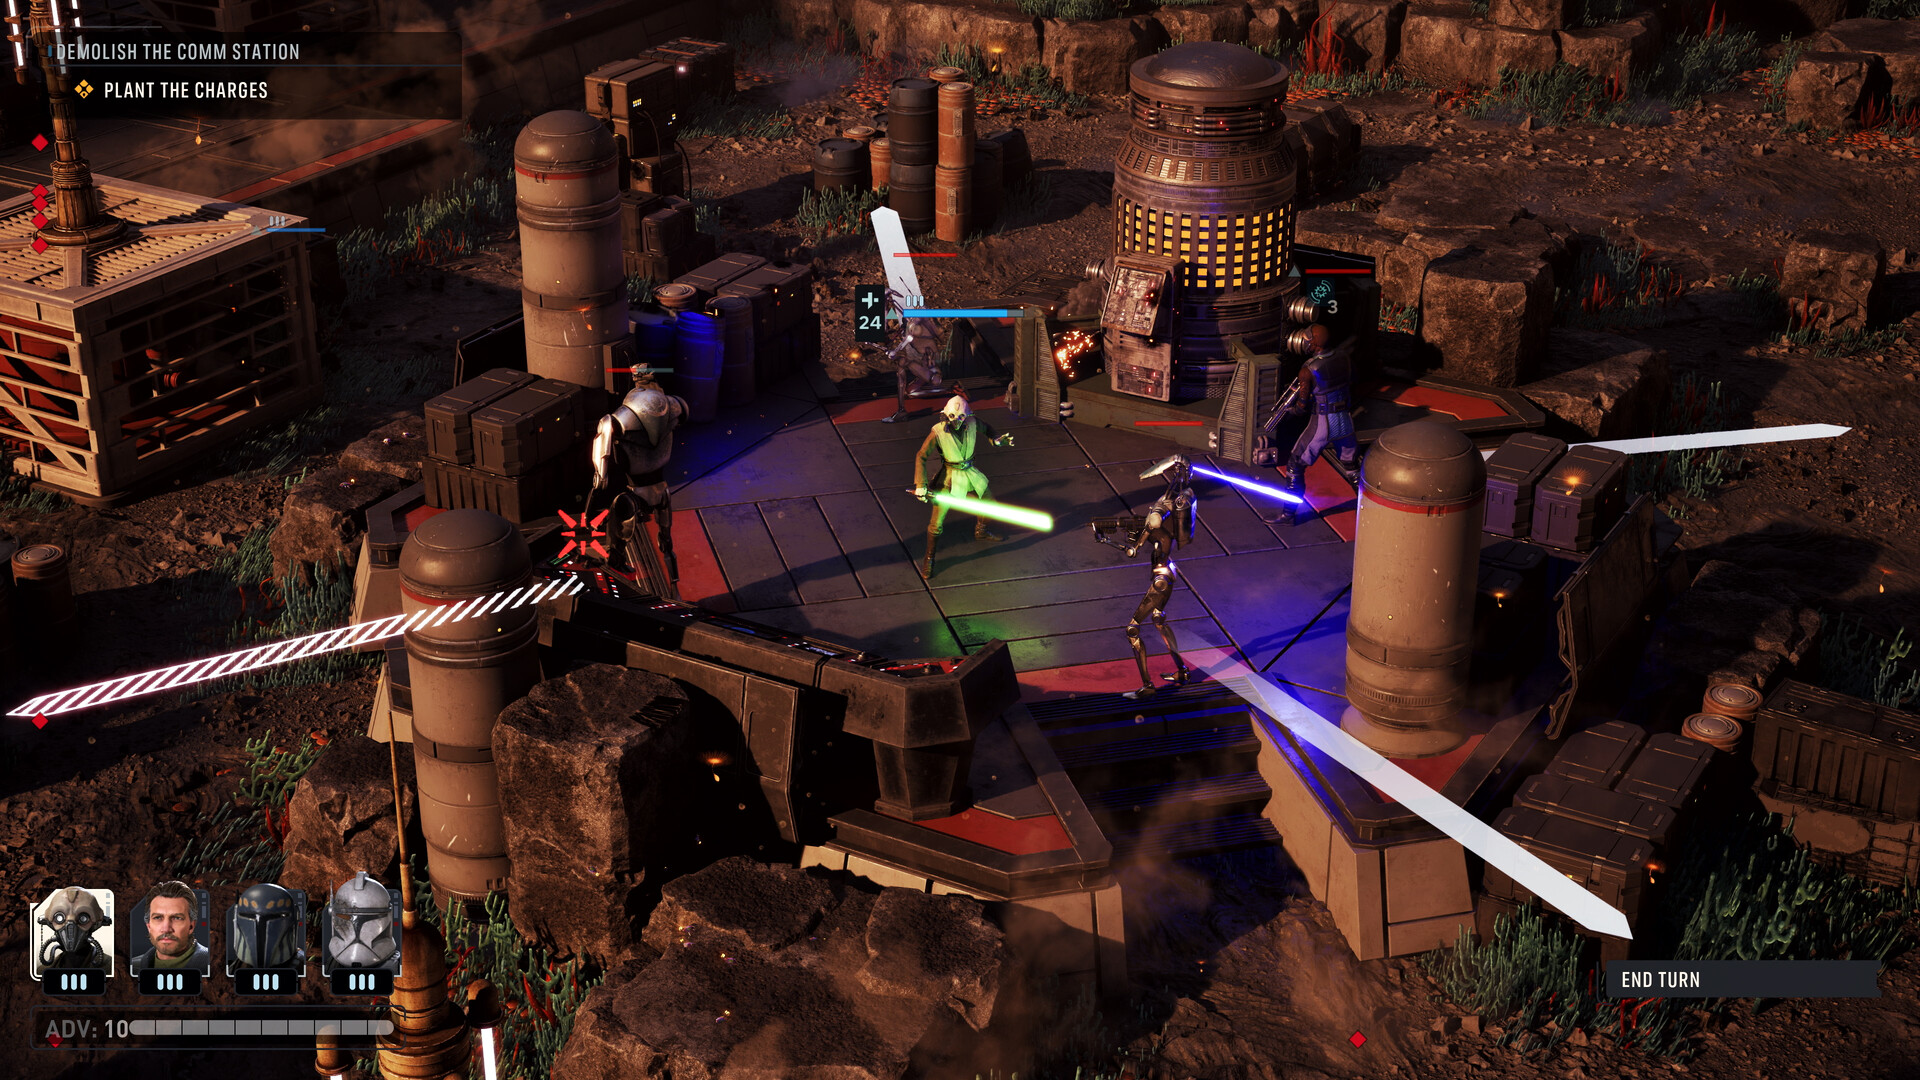
Zero Company features 12 specializations — 8 standard classes available to any recruit and 4 exotic classes tied to specific story characters. Each operator can equip a secondary specialization partway through the campaign, creating powerful dual-class combinations. Since any weapon type (Longarm, Repeater, Rifle, or Pistol) can pair with any class, and Talents are independent of specializations, the build possibilities are extensive. Plan your squad around complementary roles rather than stacking a single archetype.
A well-rounded four-operator squad should cover three pillars: damage output, survivability, and support. The Heavy's Bulwark taunt and defense bonus makes them an ideal frontline anchor, drawing fire while a Sharpshooter or Gunslinger deals damage from safety. The Medic's Morale Boost and healing abilities prevent injuries from accumulating — critical in a game where each time an operator is downed they gain a permanent Injury that reduces combat stats, and repeated injuries can lead to permadeath. The Scoundrel's Easy Mark ability synergizes well with high-damage allies by guaranteeing an assist on the marked target.
Don't neglect your roster depth. With up to 20 operators recruitable in a single campaign, you should develop backup operators in case of injuries or permadeath. Invest in the Bond system between operators — reaching higher Bond tiers unlocks combat synergies that can meaningfully improve your squad's performance. Pair operators who deploy together frequently, and use downtime at the Den to strengthen relationships through conversations and shared activities.
Managing Injuries, Permadeath, and Long-Term Campaign Health
The injury and permadeath system is what separates Zero Company from more forgiving tactics games. When an operator's health drops to zero, they enter a Downed state and must be Rallied by a nearby ally to return to the fight. Every time an operator goes down, they accumulate an Injury that permanently reduces their combat effectiveness. Stacking injuries on a key operator weakens your entire squad composition over time, so preventing downs is always preferable to recovering from them.
The Medic specialization is not optional — it is essential for long-term campaign survival. Keeping a Medic in your active squad reduces the frequency of injuries and helps stabilize operators before they go down. On higher difficulties like Hard and Expert, consider bringing utility items such as Medkits on non-Medic operators as well. Hawks is the only operator immune to permadeath, so never assume a favorite character is safe. Rotate injured operators out of the active squad and deploy backups while they recover at the Den.
On Expert difficulty with the Beskar Mode modifier — the hardest combination in the game — every tactical decision carries permanent consequences. Prioritize completing optional missions to earn additional credits and equipment that keep your roster competitive. Invest in the Den's key facilities to unlock better gear and recruitment options. The campaign spans roughly 30-40 hours, and losing experienced operators in the final act because you neglected roster development early on is a mistake that no amount of tactical skill can undo.