STAR WARS Zero Company Walkthrough
This walkthrough covers every main mission in STAR WARS Zero Company™, a single-player turn-based tactics game set during the final days of the Clone Wars. Follow Hawks and their ragtag mercenary squad through a linear campaign of tactical engagements, intel-gathering operations, and high-stakes choices.
Campaign Structure Overview
The main storyline in Star Wars Zero Company follows a largely linear progression. Key tactical missions are interspersed with multiple-choice operations that advance the narrative without direct combat gameplay. Between main missions, you can undertake optional side missions to earn additional credits and acquire better equipment for your operatives. Completing critical operations unlocks the next story mission, steadily pushing the campaign forward.
The campaign begins with Zero Company being covertly hired through a proxy by Republic intelligence operatives who need a deniable asset. A Separatist fleet is massing in the Serolonis system, and official channels are too slow to respond. Hawks — a former captain of the 100th Clone Company under Jedi General Pong Krell, later dismissed following a devastating incident on Antine — has built Zero Company into a capable private intelligence and combat outfit. The squad's mix of former Separatists, syndicate associates, and seasoned professionals makes them ideally suited for operations that require both skill and discretion.
Between missions, you return to The Den, Zero Company's home base. Here you can manage your squad roster, customize your operatives and their loadouts, and build relationships between team members. These bonds are not merely cosmetic — investing time in character interactions at The Den unlocks combat synergies that can prove decisive on the battlefield.
Main Mission List
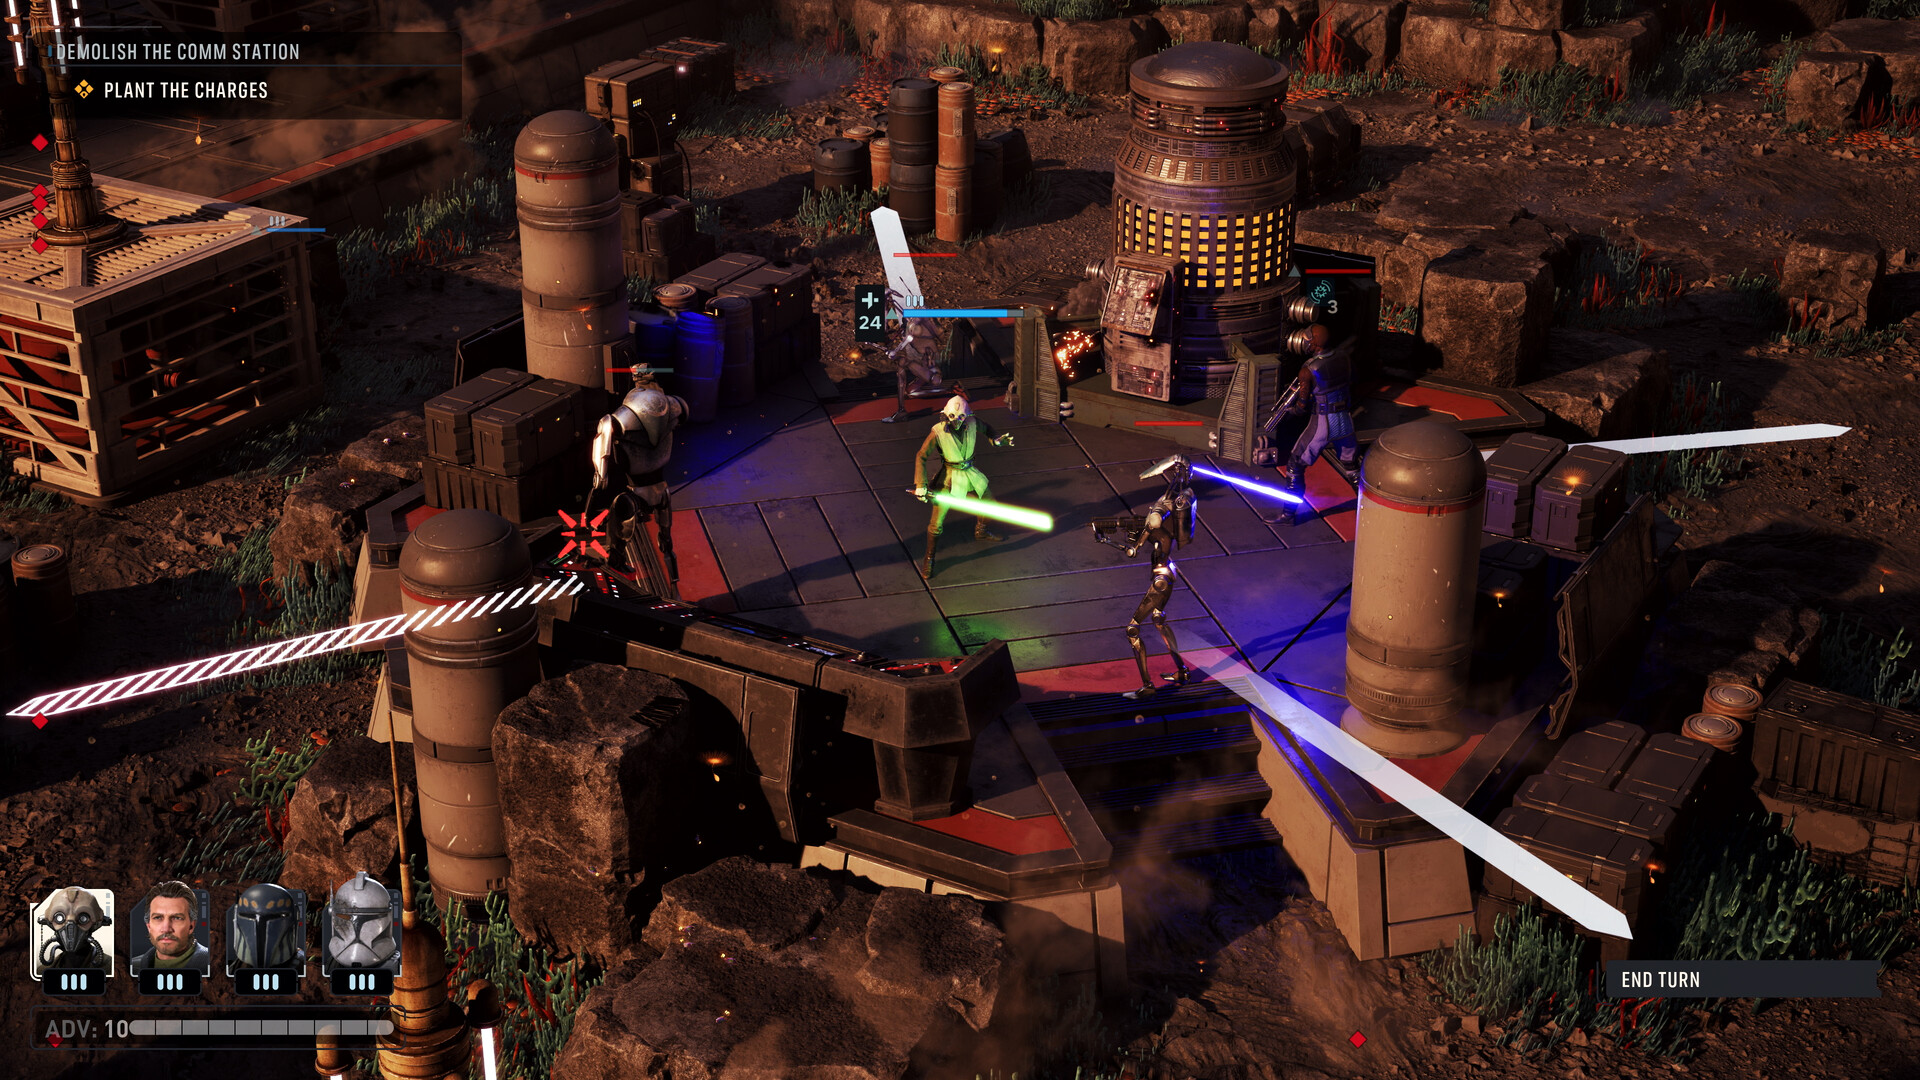
The campaign consists of nine main missions that take Hawks and Zero Company from a straightforward mercenary job into an escalating conflict with galaxy-wide implications. The missions in order are: The Serolonis Job, Not Your Turf, Eavesdropping, Dark Waters, Smuggler's Den, Casualties of War, Enemy Intelligence, Behind Enemy Lines, and Deep Cover. Each mission introduces new tactical challenges and narrative stakes, and the choices you make during the non-combat operations between them can influence your available resources and intel going forward.
The opening mission, The Serolonis Job, serves as both the narrative hook and a tutorial for the game's core mechanics. The Serolonis system is under threat from an advancing Separatist fleet, and Zero Company's anonymous employers need boots on the ground before the planet becomes a full-blown battleground. This mission establishes the basics of movement, cover usage, and action economy that will carry you through the rest of the campaign.

Tactical Gameplay Tips
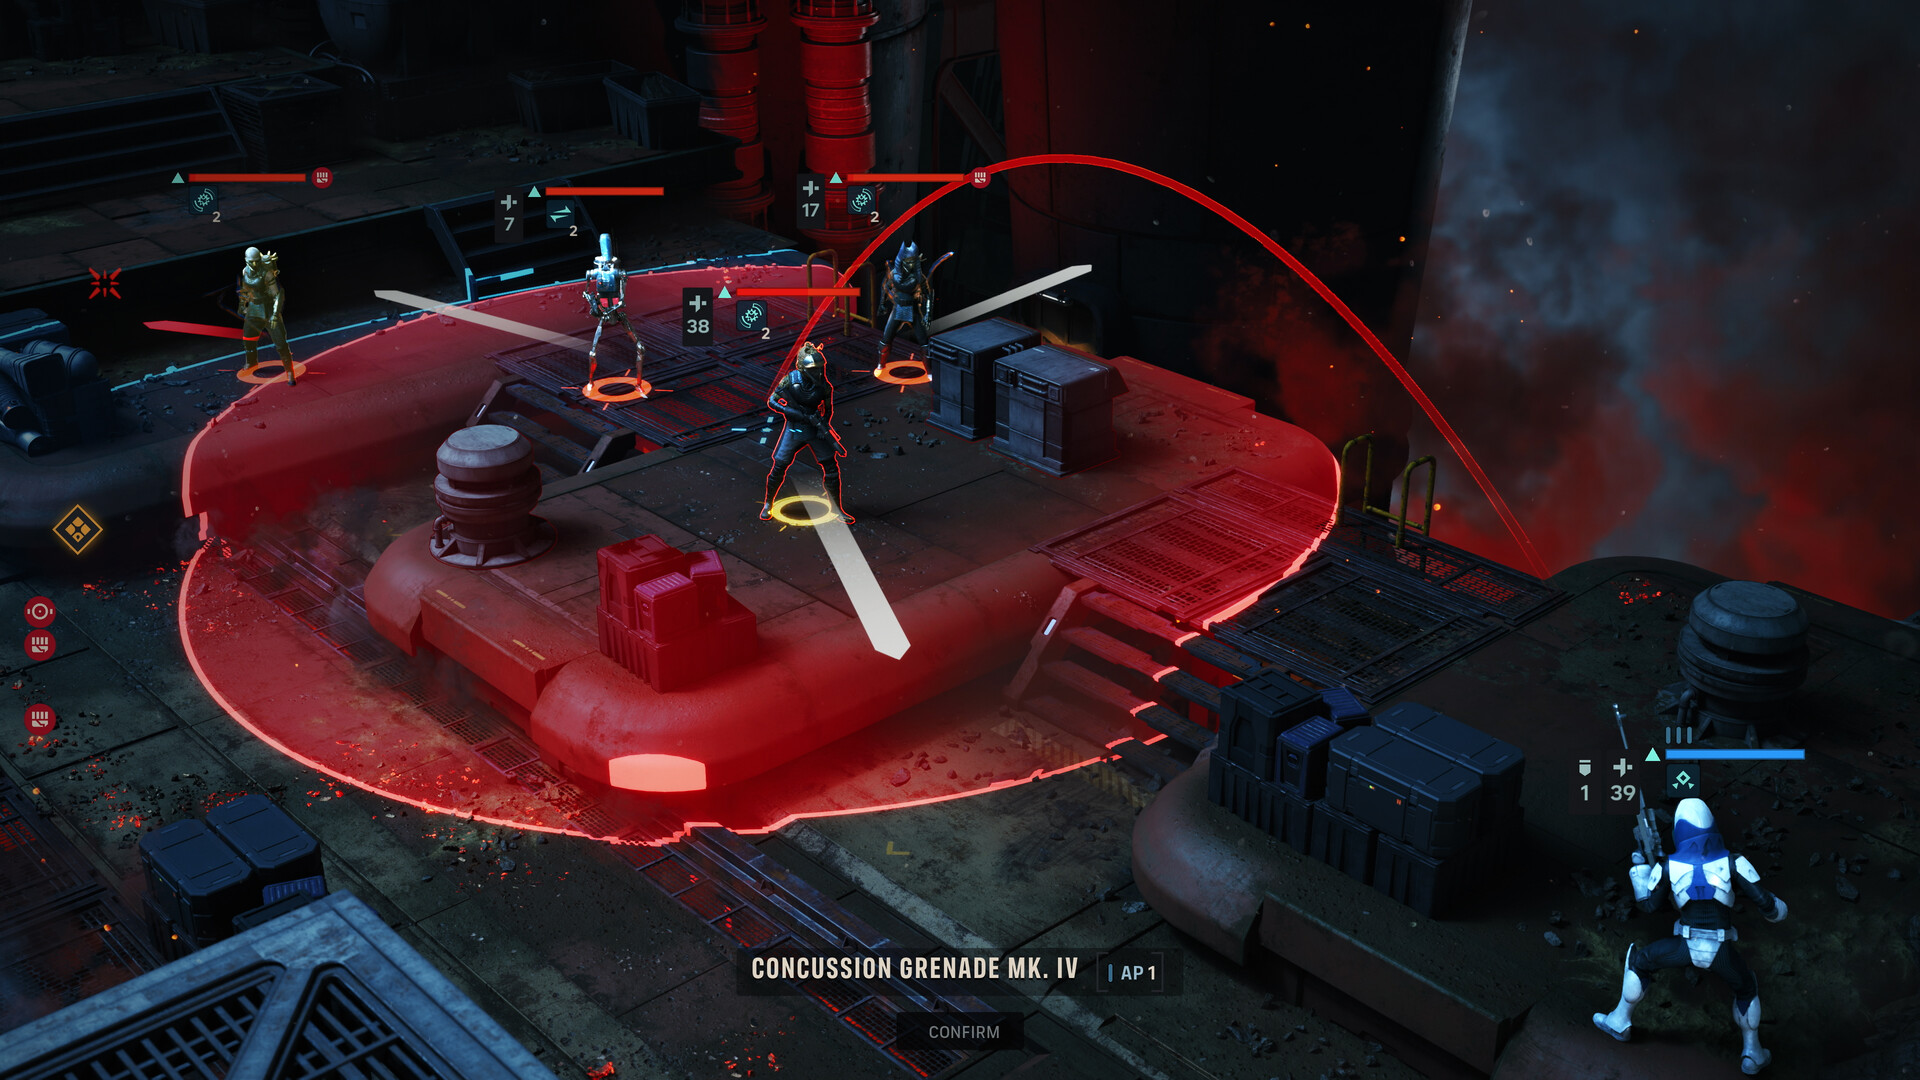
As a turn-based tactics game, Star Wars Zero Company offers considerable freedom in how you approach each engagement. No two players will clear a mission identically, and the game rewards creative use of unit positioning, class abilities, and environmental cover. When deploying your squad at the start of a mission, consider the terrain carefully — getting your operatives into strong cover positions early can mean the difference between a clean sweep and a squad wipe.
Class selection is one of the most important pre-mission decisions you will make. Each operative brings a distinct set of tactical abilities to the field, and certain missions favor specific class combinations. Before deploying, review the mission briefing for clues about what you will face — tight corridors and close-quarters environments call for a different squad composition than open battlefields with long sightlines. Experiment with different class pairings to find synergies, especially those unlocked through Den interactions.
During combat, keep a close eye on your action economy. Spending tactical abilities at the right moment can turn an ambush into an advantage, but burning them too early may leave you exposed when reinforcements arrive. Prioritize eliminating enemies that threaten your flanks, and never leave an operative isolated without support. If a blaster malfunctions or a plan falls apart, adaptability is your greatest asset.
The Den and Squad Management
The Den is far more than a mission-select screen. It functions as Zero Company's operational hub, where you prepare for upcoming engagements, manage equipment and credits, and develop your squad's interpersonal dynamics. Returning to The Den between missions is essential for maintaining combat readiness — make sure to spend earned credits on upgraded gear and review any new intel gathered from completed operations.
Building bonds between operatives at The Den is a key strategic investment. Conversations and interactions between squad members unlock combat synergies that provide tangible battlefield advantages. Prioritize building relationships between operatives you frequently deploy together, as their synergy bonuses will compound over the course of the campaign. You can also customize Hawks and fill out the squad roster with both authored story characters and custom-made operatives tailored to your preferred playstyle.
Side Missions and Resource Management
Between main story operations, side missions become available that offer additional credits, equipment, and sometimes unique narrative content. While these missions are optional, completing them is strongly recommended — the extra resources they provide can make later main missions significantly more manageable. Equipment upgrades in particular can give your operatives the edge they need during the campaign's more punishing encounters.
Credits are your primary resource for purchasing gear and outfitting your squad. Manage them carefully, as the best equipment tends to appear later in the campaign when prices are higher. Avoid spending lavishly in the early missions on marginal upgrades; instead, save your budget for meaningful improvements that complement your preferred squad composition and tactical approach. A well-equipped team of four will outperform a poorly-equipped team of six every time.